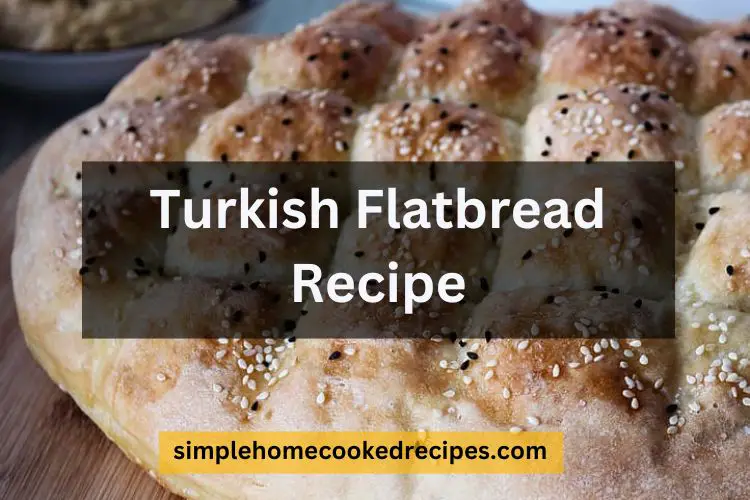
You had to have been lying under a rock if you haven’t seen those mouthwatering Social Media videos all featuring Turkish flatbread. Turkish Flatbread also known as Bazlama has gained popularity recently. All the food blogs are flooded with videos and photos of it. And it is surprisingly easy to make as well. Let’s look at an easy-to-do recipe for Turkish flatbread.
I have made Turkish flatbread before many times, and every time I have tweaked my recipe a bit until I was left with the tried and true fail-safe recipe that I am about to share with you today. You have to trust the process and have faith. Bread is a labor of love. You need to wait on it like a new kitten. But, I promise you, it is worth it.
What’s So Special about My Turkish Flatbread Recipe?
The Turkish flatbread recipe is age-old. Traditionally Turkish flatbread is made on an open stove outdoors where it can be cooked on a really high flame. As you can imagine, I did not really have the luxury of owning an outdoor stove, no matter how much I would like one. And, an outdoor grill really doesn’t come close to one of those open-mouthed wooden stoves.
So, I’ve had to adapt my recipe slowly to achieve that same texture on an indoor regular stove. The trick, I find, is using a heavy-bottomed pan. I also can’t always access traditionally used ingredients for Turkish cuisines so I have spent time finding suitable substitutes.
Over time, I have simplified my recipe in a way that allows me to make the bread in the shortest possible time with ingredients that are already in my pantry or ingredients that are always readily available in the grocery stores.
So, yes, that’s why this recipe is easy and adaptable for anyone basically. Even absolute beginners can follow along and get the same exact texture and flavor profile as that of the traditional Turkish flatbread.
An Overview Of Turkish Flatbread Recipe Recipe
With the given measurements you can make up to 6 Turkish flatbreads, that will easily serve 3 people. The Turkish flatbread is quite heavy and should ideally be served with soup so it makes a hearty meal
Details
6 Pieces
30-40 Min.
592
Nutrition Facts
6 servings per container
- Amount Per ServingCalories363
- % Daily Value *
- Total Fat
2.4g
4%
- Saturated Fat 1.1g 6%
- Cholesterol 4mg 2%
- Sodium 218mg 10%
- Total Carbohydrate
72.2g
27%
- Dietary Fiber 2.7g 10%
- Total Sugars 2.1g
- Protein 0g 0%
- Vitamin D 1mcg 5%
- Calcium 47mg 4%
- Iron 4mg 23%
- Potassium 161mg 4%
* The % Daily Value tells you how much a nutrient in a serving of food contributes to a daily diet. 2,000 calories a day is used for general nutrition advice.
Ingredient List
In my opinion, this is the strong suit of my recipe. I am using a handful of ingredients only-
- 300 ml water
- 7g dried yeast or 10g fresh yeast
- 1 tsp sugar
- ½ tsp salt
- 100g plain yogurt
- 550g white flour
- Butter (for brushing)
Equipment You May Need
- Kitchen Scale
- Spoons
- Rolling Pin
- Heavy Bottomed pan
Process
The best Turkish Flatbread comes from the best dough. You have to be very patient when mixing the dough and allow it to properly rise. The specialty of Turkish white bread is the general fluffy texture and taste.
- To mix the dough, first, prepare your yeast. Mix the water, sugar, and yeast in a cup and let it bloom. After 5-10 minutes, check on the yeast. If the yeast is foamy it is good to go. If it is not, give it a few more minutes.
- Now, add the flour and yogurt. Don’t pour in all the flour at once, do it in portions, and slowly start to form the dough. Whisk it in so it doesn’t clump. I have also tried a strainer to slowly add in the flour to make sure it’s clump-free. But, I find that the best dough is kneaded with hands. And, when you are using your hands, you don’t really need to add the extra step of straining your flour.
- Anyway, once you have about 3/4th of the flour mixed with the yogurt and yeast, add in the rest of the flour. Now, finally knead with your hands to form a soft and slick dough. Once done, cover it with a cloth until it rises to double in size.
- After the dough rises, divide it into four portions and lightly dust it with flour. Cover the four balls and let them rest for another ten minutes.
- Take the flour balls and using your rolling pin, roll them out into flatbreads.
- Great job! You have done the hardest bit, now on to cooking the flatbread.
- Heat a heavy-bottomed pan on medium-high heat and place the flatbread on it. Periodically flip it till it’s golden brown on both sides. Brush butter on top and serve it hot.
- Flatbread is served best immediately after they are cooked. Nothing beats freshly cooked flatbread served with a warm bowl of tomato soup. You can also serve it for breakfast with tea and coffee.
- The trick to always getting the perfect Turkish bread is spending time on your dough. Do not rush the process of your yeast blooming or your dough rising. Also, add the water in portions. Depending on where you live and the temperature of your kitchen you may need to adjust the water.
- Once you are done cooking one flatbread set it aside carefully on a plate and cover it with a cloth and repeat the process.
- And, there you have it. This is the easiest I could make it. A few years of practice and some burned flatbreads later, I can confidently claim that this recipe is my secret weapon to winning many many hearts over dinner. Next time you have guests over and you want to wow them into silence try making some Turkish flatbreads. It’s literally that easy. And especially if you have previous experience in baking bread, this should be a walk in the park for you.
If you try it, don’t forget to leave a comment. And, remember there is room for change. If you like it sweeter or saltier just change the seasoning accordingly.
Also Try: Mary Berry Wholemeal Bread Recipe: A Healthy Option For Your Family
FAQ
How do I reheat Turkish Flatbread?
It’s quite easy. Just put it in a preheated oven and wait for 7-8 minutes.
Can I prepare the dough in advance?
Yes, of course. And especially if you are making a large batch it might actually be wise to prepare the dough in advance. The prepared dough is good to use for up to three days. Just make sure the dough is back to room temperature before you roll your bread.